
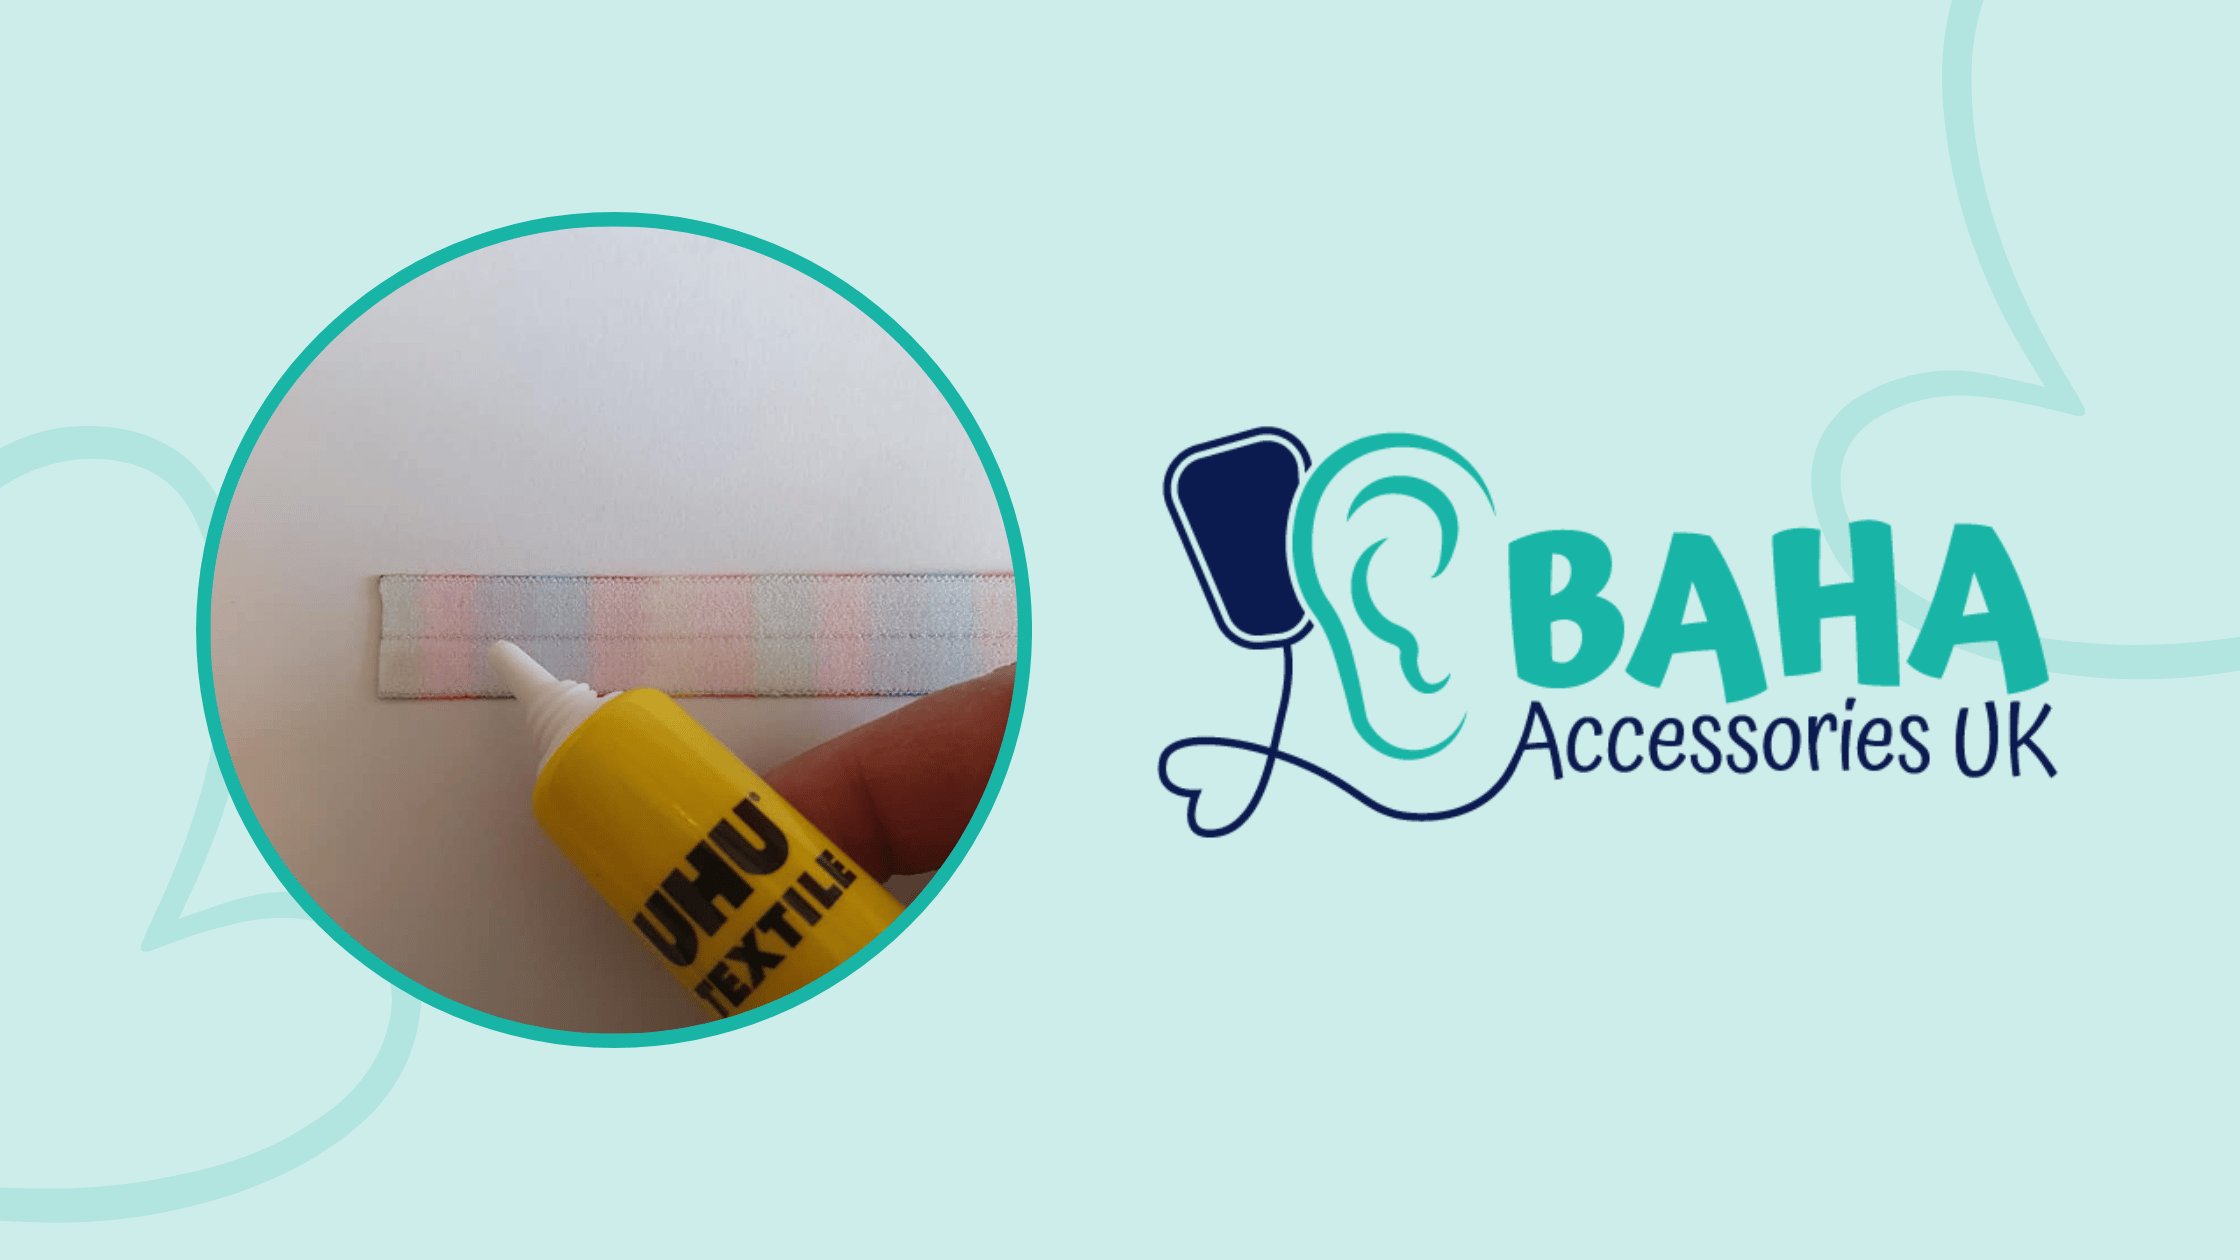
If you or your child wears a bone anchored hearing aid, you may be considering making your own BAHA headband. Here at BAHA Accessories, we’ve been making BAHA headbands for our customers for many years now so here are some top tips we wanted to share to help you make your own BAHA headband.
Materials You’ll Need
To make your own BAHA headband, you’ll need the following:
- Elastic for the main body of the headband
- Silicone elastic to line the headband (to make it non-slip)
- A metal slider to allow for adjustment
- A silicone O-ring
- A button connector
- Fabric Glue
How to Make a Full Headband
Our BAHA Accessories headbands are made using fold-over elastic (known as FOE for short) and they are backed with a non-slip silicone elastic on the inside of the headband, which helps to keep the headband securely in place.
Each headband also has a metal slider, which allows the headband size to be adjusted for the perfect fit and bilateral headbands come with two of these metal sliders. Our BAHA headbands also feature a white silicone O-ring for the button connector to sit inside.
Here are instructions for how to make a full BAHA headband.
- Add fabric glue to the back of the headband elastic, along the full length leaving around 1-inch of the elastic free of glue.
- Press the silicone elastic into place and allow to dry for 24 hours
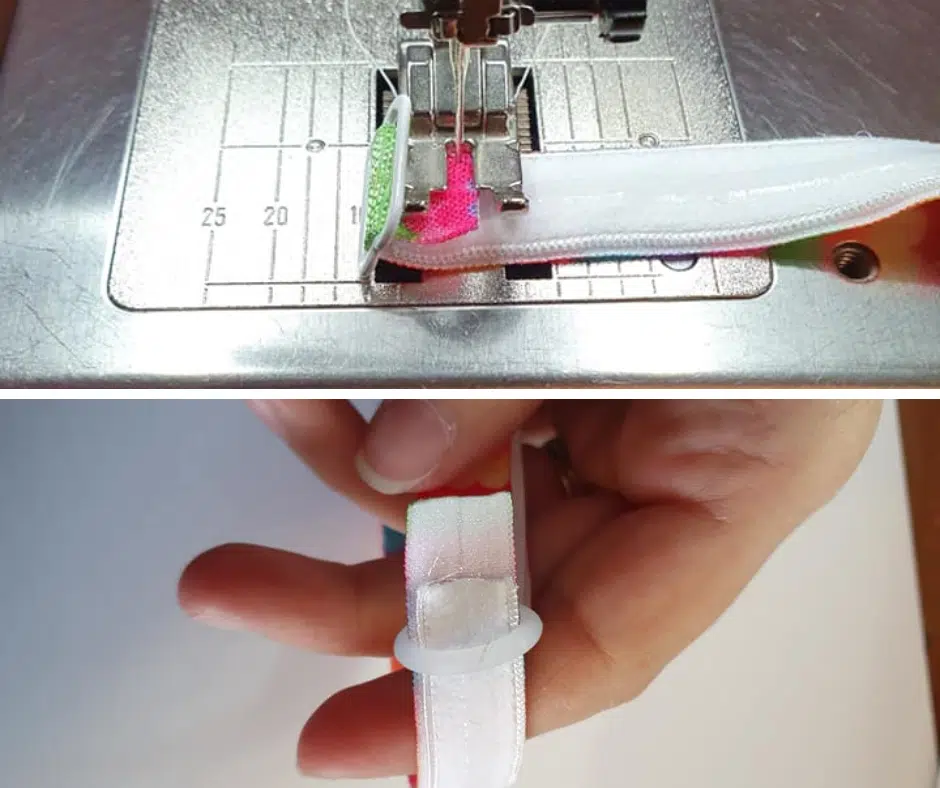
- Using a sewing machine, stitch the metal slider onto one side of the elastic, through the middle bar.
- Thread a white O-Ring onto the other end of the elastic.
- Now thread the empty end of the headband (i.e. the side without the metal slider) through the metal slider.
- Finally, thread the empty end of the headband through the white O-Ring and sew to secure.
To keep your BAHA safe, each processor should have a safety line attached to the processor, which can be connected to something else to prevent it from falling off if it comes loose or is knocked. At BAHA Accessories, a built-in safety line anchor comes as standard with all of our full headbands. You’ll also need a button block connector to attach your BAHA to the headband.
If you’d like to purchase materials from us to make your own BAHA headband, we can supply everything you’ll need, just select the ‘Materials Only’ option from the drop-down menu when ordering. When you purchase the ‘Materials Only’ option ensure you also add some ‘Anchors’ too so you can attach your safety line easily.


Alternatives to a Full Headband
Alternatively, you might want to use our DIY headbands. These use the button connector from the manufacturer’s headband. We create both DIY and full headbands to keep your BAHA securely in place. See our blog for instructions on how to use a DIY headband or browse our headband options.
Get In Touch
We hope this blog has explained how to make your own BAHA headband. If you have any other questions about BAHA headbands or accessories, don’t hesitate to get in touch and we’ll do our best to help.
We’d also be more than happy to talk you through our products and designs and their different functions to make sure that they’re the right choice for you. You can email sales@bahaaccessoriesuk.com, give us a call on 07432 620644 or get in touch via the website. We look forward to hearing from you!